Hello everyone, I thought I would do a little tutorial on a technique that I absolutely adore. I just love the distressed and weathered look it creates.
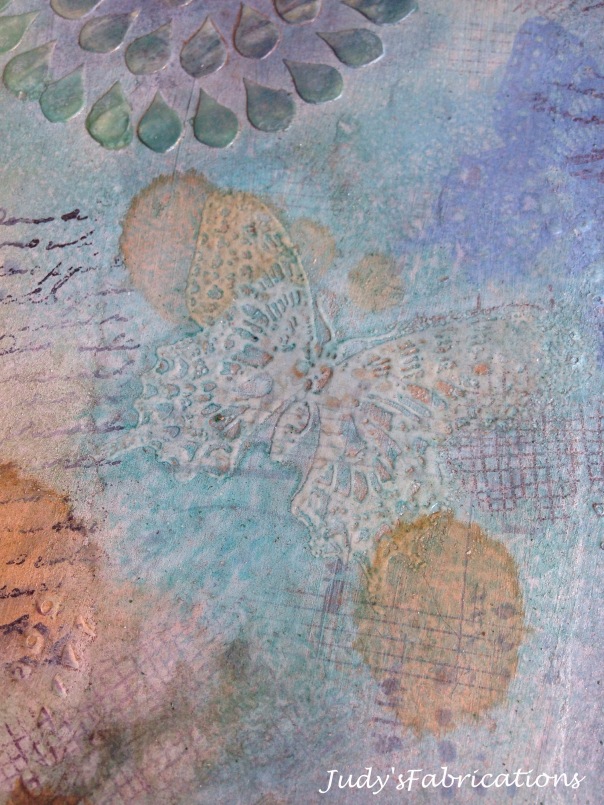 This butterfly is the result of a resist technique. For the purpose of this tutorial I will recreate this look and shall be talking you through each step.
Step 1
Cut out a piece of card stock. I’ve cut mine at 2.1/2x 3.1/2 inches. Coat it in a layer of gesso.
Using a sponge cover in an ink of your choosing. Or alternatively paint with an acrylic paint. (It will need to be a light colour, for the effect to work)!
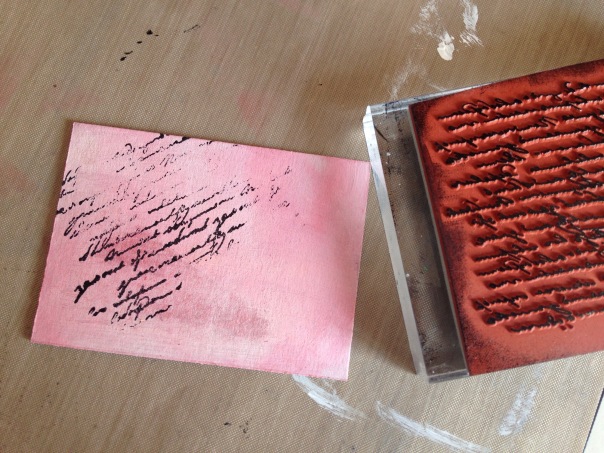
Using a script stamp and stazon ink, stamp a little section of the card.
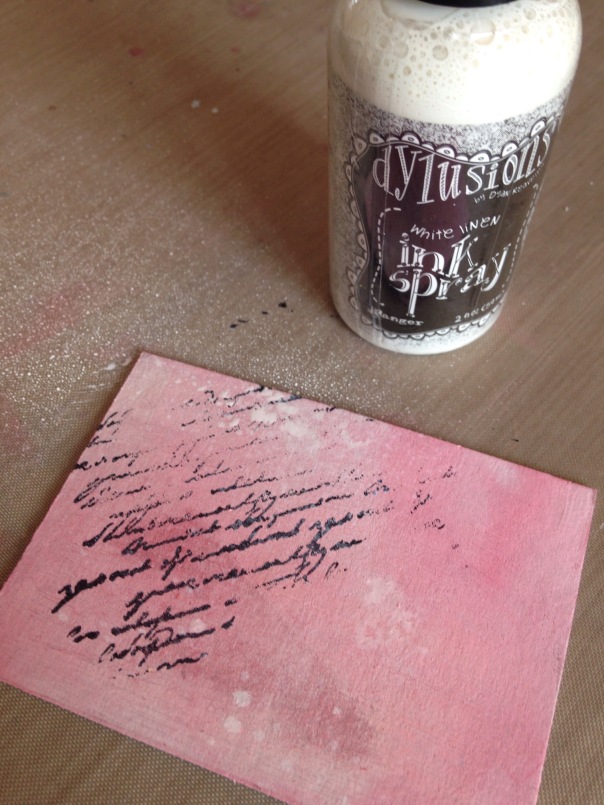
Spay a little white ink or diluted paint over the card. I’ve used White Dylusions ink spray. Warning! it is messy! It will also stain! Your looking for a transparent splattered look! You could use watered down paint on an old tooth brush if you’d rather not use an ink spray.
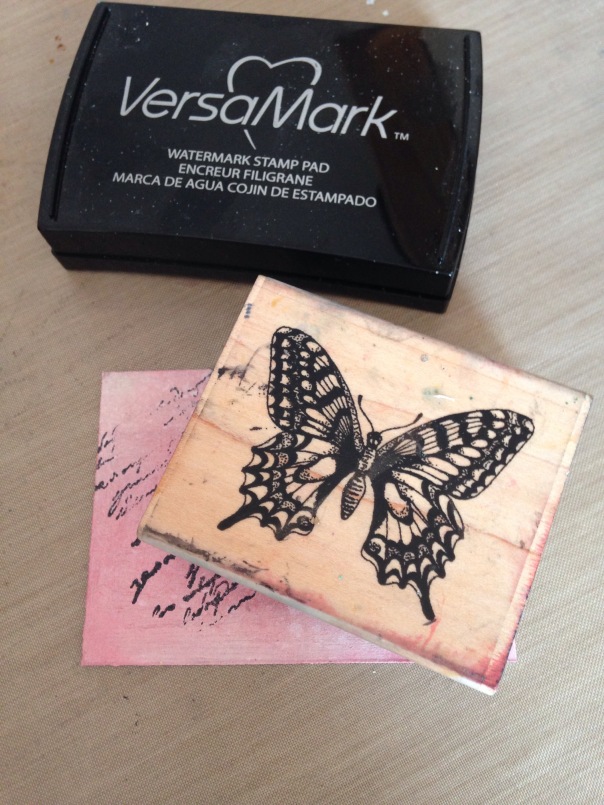
Using versa mark watermark stamp pad. Stamp onto the card your chosen rubber stamp image (I’ve used a butterfly)
Sprinkle clear embossing powder onto the area of your stamped image.
Shake off powders and heat the image with a heat tool. (Use a heat proof mat under your work as they do get very hot)
Once the image has cooled, use a darker water based coloured ink, spay or sponge over the embossed image. And lightly dab a dry tissue over the area to raveal the image. I’ve used a purple Dylusions ink spray again.
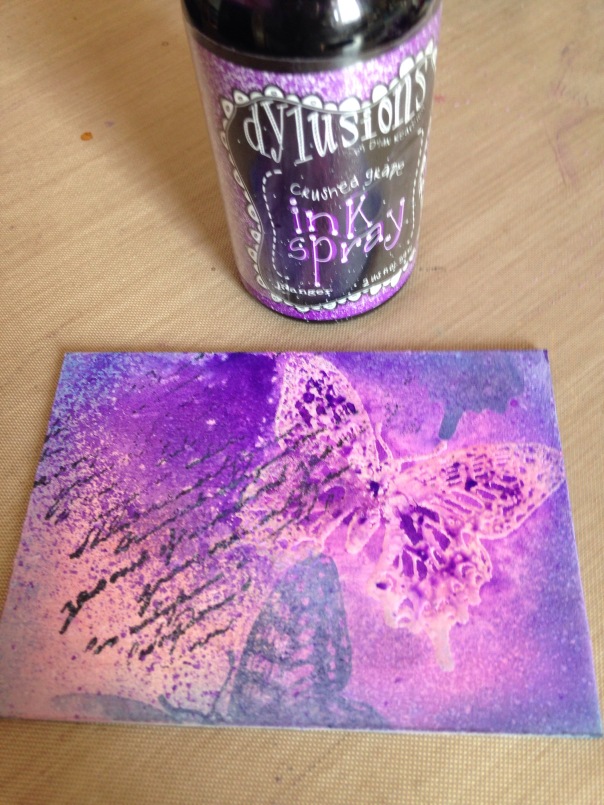
I also stamped a couple more areas of butterfly with blue ink and distressed the edges. Give it an extra little spay of white over the darker areas, but being careful not to get it over the embossed butterfly. Then finish with a couple of words using the black stazon ink.
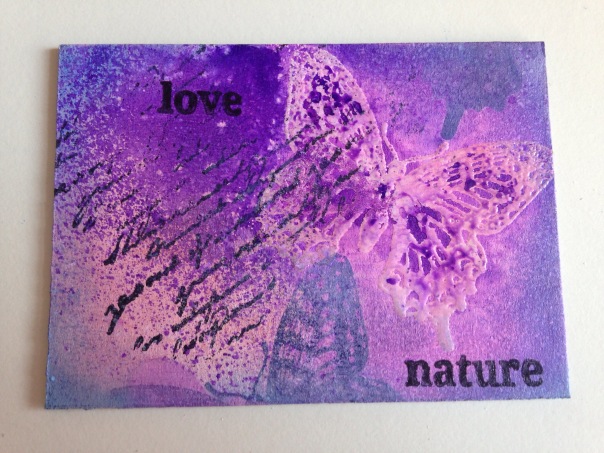
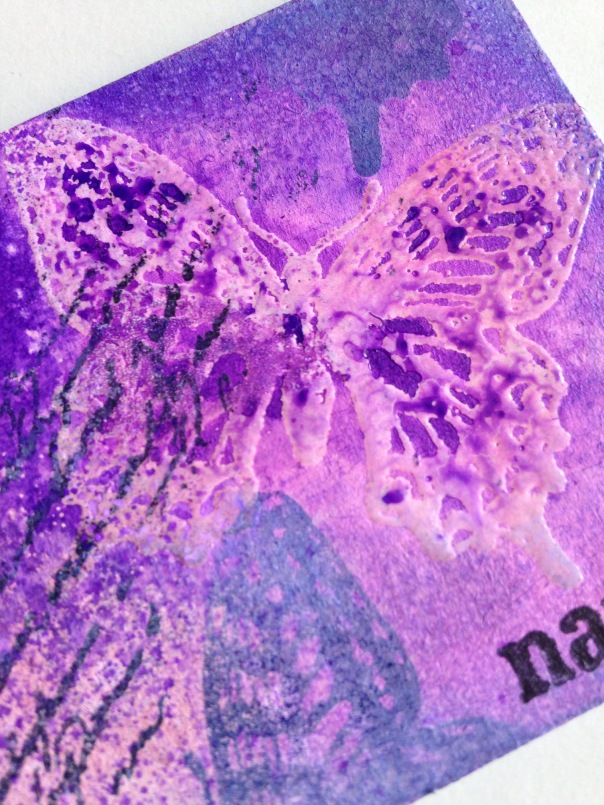
I think you will agree that it is a rather effective little technique! 🙂


